The rise of DIY culture has affected even e-juice as many do-it-yourself e-juice kits are available for the creative vaper. E-juice kits contain all the basic ingredients of e-liquids along with some other special touches like flavorings and nicotine. More ingredients can be bought and added to the base packages.
James BickfordUpdated: May 11, 2023
Most popular
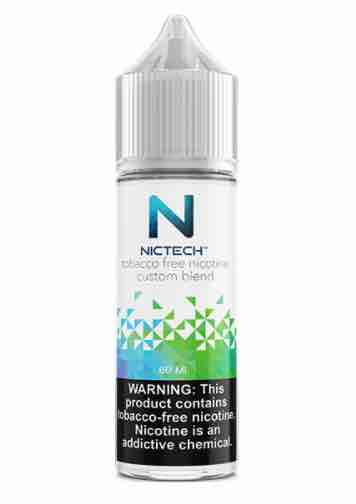
Nictech Custom Blend
10/10
Strong throat hit
Massive clouds
Opportunity to create a customized flavor
Eventually, people get tired of using the same liquids every time they vape. Nitech offers such vapers a way to be creative with their cu...
To make e-juice, you need to know where you can get the right supplies. The first step is to know the best place to buy DIY e-liquid supplies. There are several DIY e-juice suppliers available in the market including wax e-juice kit suppliers. Our site cooperates with DIY e-juice suppliers.
Eventually, people get tired of using the same liquids every time they vape. Nitech offers such vapers a way to be creative with their custom e-liquid blend option. Customers can look through Nitech’s broad selection of flavors to create fruit, dessert, mint, and tobacco flavors or combinations of them. Up to three flavors can be used to create a customized e-liquid. Additionally, the VG/PG ratio can be chosen, allowing for powerful throat hits or massive clouds.
Unflavored e-juice might be good for cloud-chasing, but the pure taste (aka no flavor) is a bit specific. This DIY Vape Juice package lets you select up to three flavors from a collection of 30000 different flavor combinations that are expertly created and blended by VaporFi. This lets you completely customize your vaping experience and experience a limitless range of tastes. VaporFi’s full offering of e-liquid flavors can be mixed in any way that you choose — talk about superb customization. VaporFi’s DIY Vape Juice includes a 30mL or 60mL bottle of your e-liquid flavor of choice and also makes you choose between three different VG / PG ratios: 30% / 70%, 50% / 50%, and MAX VG.
This DIY e-juice kit from Central Vapors takes the more traditional route. Instead of clicking through all possible options online, vapers receive all the necessary tools and equipment to mix them at home. The first selection when ordering this kit is choosing five different flavor concentrates. The options are many and provide a wide variety.
Once a user has made their flavor choices, the kit contains the rest of what they need. Each kit comes with a 100mg bottle of liquid nicotine, a single bottle of both VG and PG, 15 empty 10ml bottles with lids. There are also ten syringes in the package.
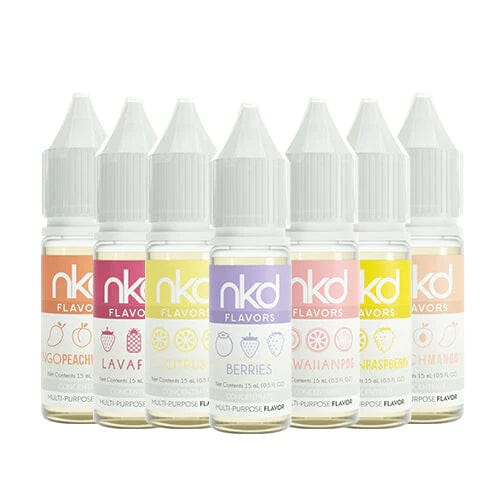
E-liquid flavor is the most important component of your DIY E-Liquid, and Naked100 makes it so easy to create delicious ejuice! The NKD Flavors line of concentrated flavors are perfect for anyone who mixes their own e liquid – they are a great way to save you time, money and mess while creating your own DIY e-liquid. Each bottle comes with 15ml of flavor concentrate and a 30ml bottle of nicotine base, allowing you to easily mix the concentrate into your e-liquid after some small mixing in a separate bottle.
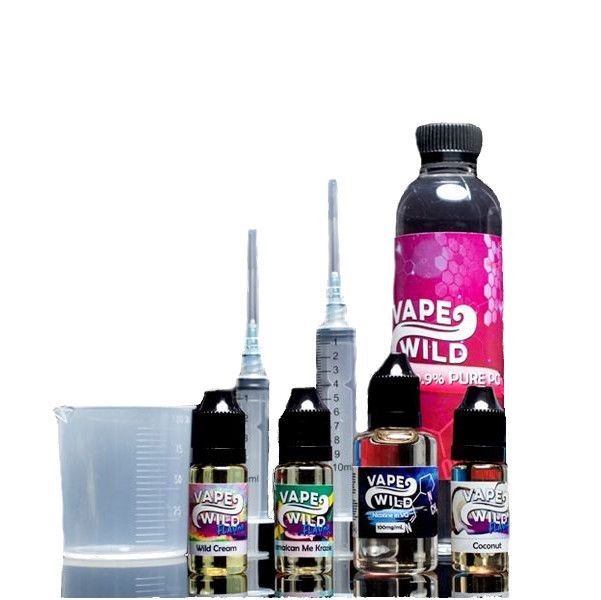
The VapeWild DIY e-liquid kit is an all-rounded kit that can help you get started on the journey of making your own e-juice. Once purchased, you will receive diluted nicotine, PG, VG, sweetener, beaker, six flavors, syringes, gloves, bottles and pipettes. This is the complete DIY e-liquid making kit that you can get for the price of $39.99.
The packaging is excellent and discreet and delivery is fast overseas. If you are looking for a DIY vape juice kit in the UK, you can order this and have it delivered to you in days. This also applies to those looking for a DIY vape juice kit in Canada, Australia and other regions.
Pros:
You get a complete set for an affordable $39.99
The kit is complete
Fast delivery
Cons:
Few flavors in the kit
What you need to get started
When it comes to making e-liquids, there are several things that you need. You need to get a DIY e-juice starter kit. You need a complete kit and know how to use it so you can make your own vape juice. Here are the things that make the e-juice starter kit.
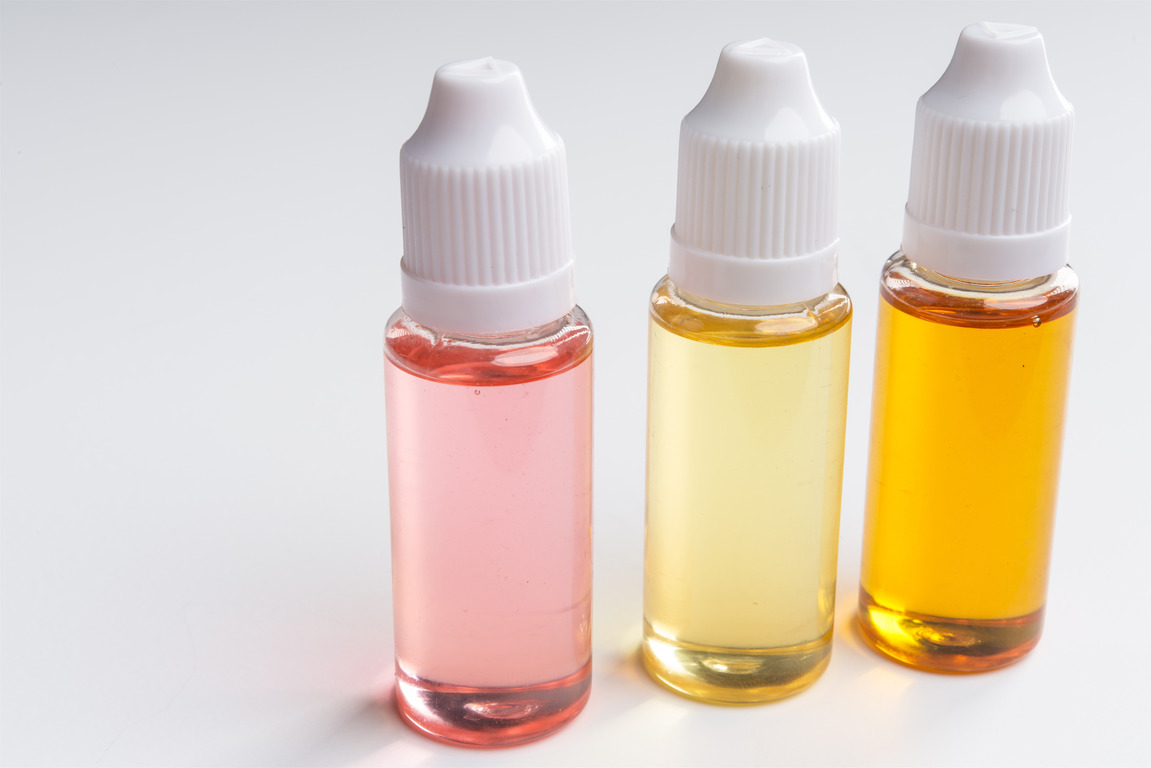
In addition to the DIY e-juice kit, you will need some ingredients for you to make your e-juice. They are PG or VG, Flavors and nicotine. Once you have all of these in your possession, you can follow this step by step DIY process to making your vape juice and tweak it as you improve.
Determine the strength of the nicotine
The amount of nicotine can be measured using the formula below.
(strength in ml/mg) (volume in ml) = nicotine amount in mg
For instance, 50ml of 8mg/ml e-liquid will need 400mgs of nicotine.
(amount needed) / (strength of diluted nicotine) = Volume to use
Using the same example: With 100mg/ml of diluted nicotine and needing 400mg
400/100 = 4ml
Extract nicotine from the container
Put on your gloves to avoid any accidental spills on your skin and to avoid contaminating the nicotine.
Since you are making a 100ml of 8ml/mg e-liquid, you will need to extract 4ml from your nicotine bottle.
Drawing the right amount can be tedious. The easiest way you can do this is by drawing up slightly more than 4ml then carefully remove the excess until you reach the 4ml mark. To prevent wastage, keep the syringe pointed into the nicotine container. While drawing the nicotine, beware of air bubbles that can throw off your measurements.
Transfer the nicotine to the bottle
Once you have obtained the right amount, transfer it to the 100ml plastic bottle.
Measure and add your flavors
Choose your preferred flavor combination. The recommended dilution is 10% of the entire volume. Since you are making 100ml, you will need 10% which is 10ml. If this is your first time, you can try one flavor then gradually mix it with other flavors.
Measure and add your PG /VG
PG and VG is the base used for the e-liquid. The E-liquid already has a lot of PG from the nicotine and flavoring so in this case, it’s best to use VG. Deduct the nicotine and flavor volume from 100ml and add the VG. Use a clean syringe to transfer the VG to the bottle. However, you should not have a bottle that fills to the brim to allow for additional space for mixing.
If you want a PG and VG ratio that has more PG, you can use diluted nicotine of a higher strength.
Secure the bottle
Secure the bottle with a drip tip and a child-resistant cap.
Shake the bottle well
Shake the bottle thoroughly to ensure everything spreads out evenly. You can use an e-juice mixing kit to make things easier for you. Over time, the components might separate so you will need to shake the bottle regularly. If you find your arm getting tired, you can get yourself DIY e-liquid mixing kits.
Steep for a while then enjoy
Steeping involves giving the e-juice time to rest and air. During this process, the chemicals mix and react with each other in the presence of air. Giving the e-juice time to breathe can make a big difference in the taste of different flavors.
Steeping for a few days is advised for vanillas, creams, custards and fruit flavors.
Category
Name
Price
Ideal for advanced Users
Nictech Custom Blend
From $19.99
Large Size Kit to Create DIY Liquids
Central Vapors DIY E-Juice Kit
$69.99
Get mixed e-juices in a few clicks
VaporFi’s DIY Vape Juice
$15.99
Possible side effects of DIY vape juice
The possible side effect of making your vape juice is exposing your skin to nicotine that can be absorbed and cause nicotine poisoning. If you start experiencing symptoms of poisoning, visit your physician immediately.
Now you know how you can get your own DIY e-liquid starter kit and begin the journey to making your own vape juice. You can get your DIY vape juice kit in UK and DIY vape juice kit in Canada and join everyone else in making your e-juice. If you know some great DIY e-liquid making kits, tell us about it and your experience. If you want to put a mark on your vaping life, get one of these kits and get started.
Published: June 1, 2018Updated: May 11, 2023
Follow:
Posted by
James Bickford
My way of understanding the significance of vaping came not only through the disruption of smoking but its effects on society as a whole. Now I bring people to vaping and bring vaping to people. I love using new gear, writing in-depth reviews and generally nerding out about vaping to like-minded people.