Making Your Own Vaporizer: Best and Safest Ways Explained
Can you really make a vaporizer at home?
Of course!
While there are tons of vaporizers you can buy with prices ranging from $10 to more than $400, there are a number of reasons you might just want to make a vape at home.
- It’s cheap. A DIY vaporizer will cost you just a fraction of the price of a commercial vaporizer.
- It’s fun! It’s always fun to learn how stuff works and make something new.
- Your friends will be impressed. And it’ll be satisfying to use your own, homemade vape.
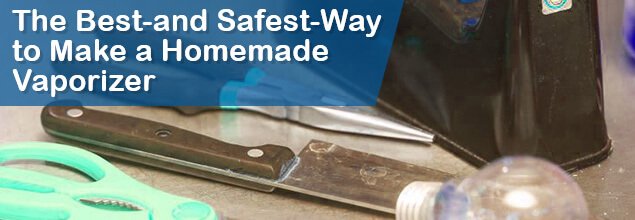
Making a vaporizer at home is not entirely risk-free, but it is a lot easier than you might think. We’ll talk about the potential hazards shortly, but first let’s go through the straightforward method of constructing a vaporizer in your own home.
What You’ll Need
- Pipe tube about 20 inches long
- A glass jar with a tin lid
- Wire clothes hanger
- Shot glass or a small dipping tin
- Set of screws with two nuts (should fit your pipe tube)
- Small candle (for heating)
- A flat screwdriver
- A block of wood (optional)
Step 1. Make the Holder
Remove the cap from the jar and make two holes on it, one for a screw and one for the shot glass. Be sure to mark the measurements for the set screw and the shot glass.
When marking the measurements for your hole, use the bottom of the glass as your guide then adjust to about an eighth of an inch outwards so you will have space to insert the glass halfway.
Using a flat screwdriver make a hole on the cap by slowly hitting the screwdriver with a mallet or small hammer following your markers until the tin comes off. Make sure you measure these holes precisely so that they are not too big or too little for the set screw or the shot glass.
Step 2. Make the Stand
Dismantle the hanger, and you’ll be left with a sturdy wire.
Take one end then coil it around the jar cap giving about 1/8 of an inch space between the cap and the wire. When you’ve coiled it twice, take out the cap and bend the wire so that it forms a horizontal line protruding from the circle.
After forming your stand’s base, bend the wire on the opposite of side of your first leg towards your upper circle. Measure another 3 or 3 ½ inches then connect the second leg of your stand to the upper circle. For any remaining wire, you can just twist it to your stand’s legs and lower base.
Step 3. Assemble
Take the nuts off from the screw, and then insert the screw into the smaller hole in your cap. Replace the nuts on both ends so that 1/3 of the screw is inside the cap and 2/3 of it is outside of the cap.
Connect the tube to the screw on the outside of the cap. Place your cap upside down to the upper circle of your stand so that your pipe will be at the bottom. Insert the shot glass in its hole. Place your herbs in the shot glass, replace the jar to its cap (upside down of course), place a candle underneath the shot glass and boom, we‘re ready to vape. But wait before you light the candle to make everything is safe.
Step 4. Ensure Safety
Glass jars can be too heavy for your stand, and you might find yourself picking up pieces of broken glass on your floor if your vaporizer falls out of balance and the jars are knocked off.
Risks Involved in a Homemade Vaporizer
- Some vapor may escape through the little openings if your homemade vaporizer isn’t sealed properly.
- Most DIY vapes, including this one, are not portable due to the bulk and awkwardness of use in public.
- Herbs tend to bring out their real flavor and effects at certain temperatures, and with homemade vaporizers you can’t regulate the temperature level. You may not be maximizing the potential of your herbs with a DIY vape.
- Be aware that other homemade vaporizers you might see, such as on YouTube, use light bulbs. Using light bulbs is not advisable since the glass is rather thin and fragile and will shatter at high heat.
- If you plan on improving your vaporizer with circuitry and batteries, you need to be extremely careful. There is always a chance of battery venting and explosion.
- Also remember that a homemade vaporizer is meant for short-term use, and may not be ideal or continue functioning for long-term use

Sarah
October 21, 2018 at 7:40 pmMay I please see a pic of this homemade vaporizer?